02-Spring 配置

参考资料:https://lfvepclr.gitbooks.io/spring-framework-5-doc-cn/content/
1. Spring 环境配置
1.1 安装 Java 开发工具包(JDK)
1.2 安装 Apache Commons Logging API
下载最新版本:http://commons.apache.org/logging/ >> Download
解压二进制的发行版本到一个方便的位置。例如在 windows 上的 C:\commons-logging-1.2 中,确保在这个目录上正确的设置 CLASSPATH 变量,否则将会在运行应用程序时遇到问题。
确保在这个目录上正确的设置 CLASSPATH 变量,否则将会在运行应用程序时遇到问题。
1.3 安装 Spring 框架库
下载最新版本:https://repo.spring.io/release/org/springframework/spring/
下载 Spring 框架的二进制文件,在 Windows 上下载 .zip 文件,在 Unix 上安装则下载 .tz 文件。
如:spring-framework-5.2.6.RELEASE-dist.zip
解压后目录结构如下:
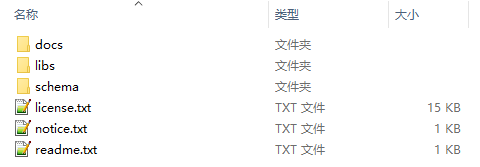
在目录 E:\spring\libs 中发现所有的 Spring 库。确保在这个目录上正确的设置 CLASSPATH 变量。
2. Spring 入门案例
Eclipse 为例。
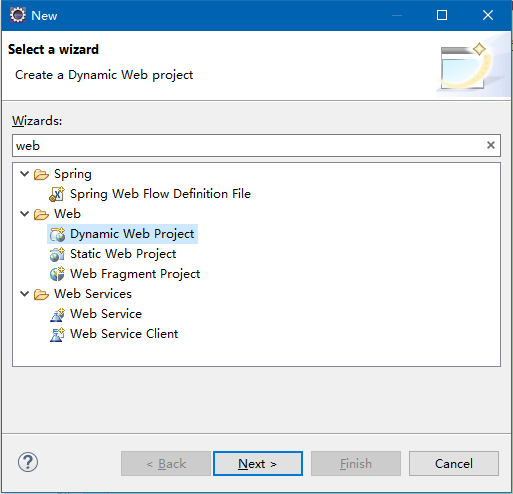
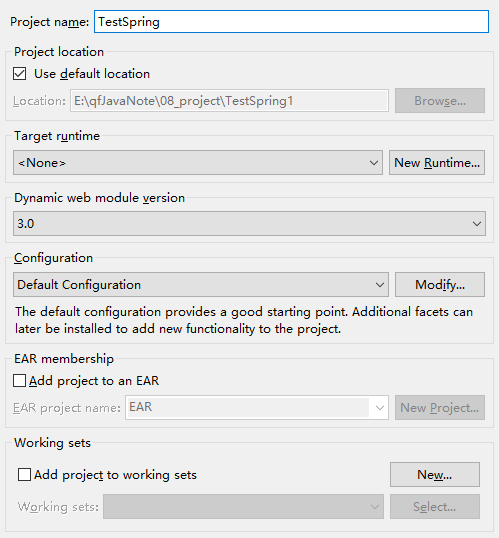
2.1 创建项目
第一步是使用 Eclipse 按 Ctrl + N 创建一个 Dynamic Web Project 项目,命名 TestSpring,如下所示:
2.2 添加依赖库
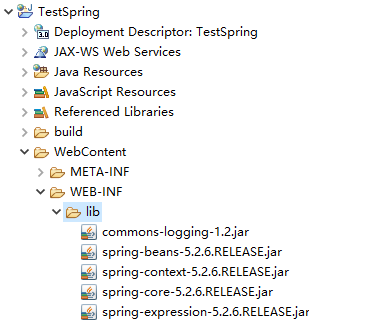
第二步将依赖库 jar 包拷入 WebContent > WEB-INF > lib 目录即可,如图:
1 | |
2.3 编写源文件
src下创建包 com.spring.demo,并在包中创建接口 UserDao,定义一个 say()方法:
1 | |
在 com.spring.demo 包下,创建 UserDao 接口的实现类 UserDaoImpl,并实现 say() 方法:
1 | |
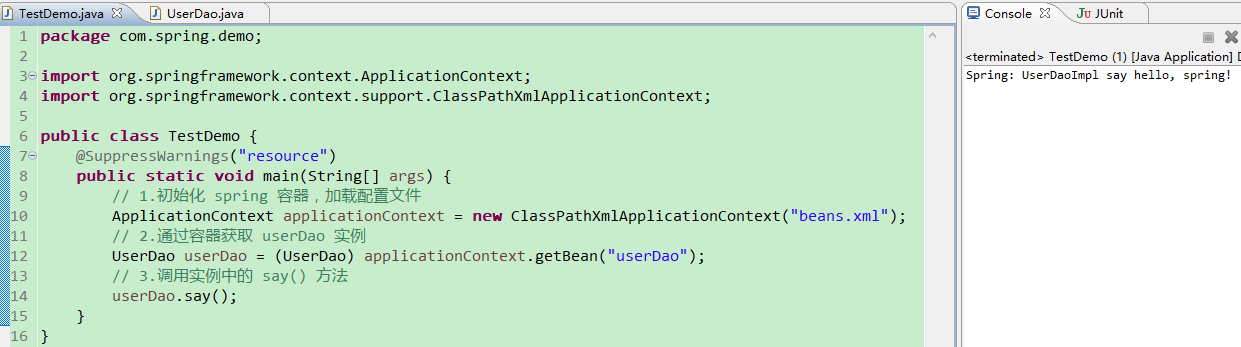
在 com.spring.demo 包下创建测试类TestDemo:
1 | |
步骤解析:
- 是使用框架 API ClassPathXmlApplicationContext() 来创建应用程序的上下文。这个 API 加载 beans 的配置文件并最终基于所提供的 API,它处理创建并初始化所有的对象,即在配置文件中提到的 beans。
- 是使用已创建的上下文的 getBean() 方法来获得所需的 bean。这个方法使用 bean 的 ID 返回一个最终可以转换为实际对象的通用对象。一旦有了对象,就可以使用这个对象调用任何类的方法。
- 调用类中的方法。
- 第 4 步:创建 bean 配置文件
需要创建一个 Bean 的配置文件,该文件是一个 XML 文件,通常保存该文件的名称为 beans.xml 文件。
beans.xml 用于给不同的 bean 分配唯一 ID,并控制不同值的对象的创建,而不会影响 Spring 的任何源文件。
当 Spring 应用程序被加载到内存中时,框架利用了该配置文件来创建所有已经定义的 beans,并且按照标签的定义为它们分配一个唯一的 ID。可以使用标签来传递在创建对象时使用不同变量的值。
1 | |
<beans>标签中的链接内容是 Spring 的约束配置,来源为:
Spring 安装目录:spring/docs/spring-framework-reference/core.html
找到 1.9. Annotation-based Container Configuration 或搜索 “XML-based Spring configuration“
- 第 5 步:运行程序
在 TestDemo 中运行,快捷键 Alt+Shift+X 再按 J,控制台输出:
1 | |