
参考资料:https://www.springcloud.cc/spring-boot.html
中文文档2:https://felord.cn/_doc/_springboot/2.1.5.RELEASE/_book/index.html
1. swagger 简介
现在开发,很多采用前后端分离的模式,前端只负责调用接口,进行渲染,前端和后端的唯一联系,变成了API接口。因此,API文档变得越来越重要。swagger是一个方便我们更好的编写API文档的框架,而且swagger可以模拟http请求调用。
大部分采取的方式:Vue + SpringBoot,Vue通过js渲染页面,后端把数据传递给js,早期前端只负责写页面,然后把写好的HTML页面给后端,后端使用模板引擎(Jsp,Thymeleaf、 freemarker)进行开发。
前后端分离的好处:各自开发,相对独立,松耦合,前后端通过API进行交互,后端提供接口给前端,前端去调用该接口,但可能会导致前后端团队人员不能做到及时协商,出现一些问题。解决方式:早期使用实时更新文档,但非常繁琐,后来又使用postman来进行一些测试。
swagger是目前最流行的Api框架,官网:https://swagger.io/
2. 导入依赖
1
2
3
4
5
6
7
8
9
10
11
| <dependency>
<groupId>io.springfox</groupId>
<artifactId>springfox-swagger-ui</artifactId>
<version>2.9.2</version>
</dependency>
<dependency>
<groupId>io.springfox</groupId>
<artifactId>springfox-swagger2</artifactId>
<version>2.9.2</version>
</dependency>
|
3. 创建配置类
1
2
3
4
5
| @Configuration
@EnableSwagger2
public class SwaggerConfig {
}
|
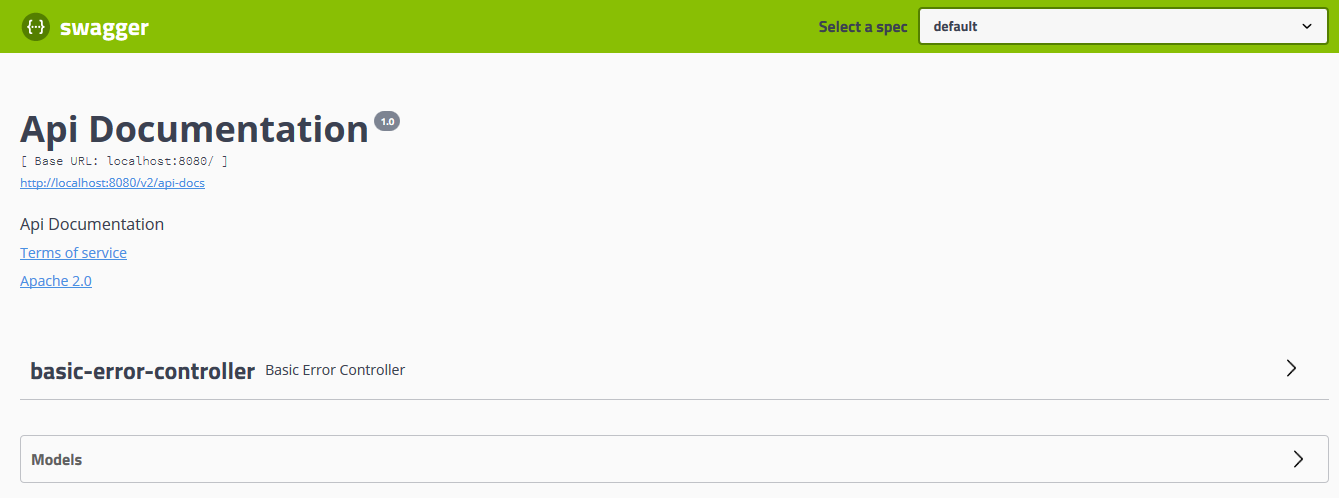
然后启动测试运行,访问:http://localhost:8080/swagger-ui.html,看到如下页面:
4. 完善配置类
手动配置实例,修改SwaggerConfig配置类。
1
2
3
4
5
6
7
8
9
10
11
12
13
14
15
16
17
18
19
20
21
22
23
24
25
26
27
28
29
30
31
32
33
34
| package com.demo.swagger.config;
import org.springframework.context.annotation.Bean;
import org.springframework.context.annotation.Configuration;
import springfox.documentation.builders.ApiInfoBuilder;
import springfox.documentation.builders.PathSelectors;
import springfox.documentation.builders.RequestHandlerSelectors;
import springfox.documentation.service.ApiInfo;
import springfox.documentation.spi.DocumentationType;
import springfox.documentation.spring.web.plugins.Docket;
import springfox.documentation.swagger2.annotations.EnableSwagger2;
@Configuration
@EnableSwagger2
public class SwaggerConfig {
@Bean
public Docket createDocket() {
return new Docket(DocumentationType.SWAGGER_2)
.apiInfo(apiInfo());
}
private ApiInfo apiInfo() {
return new ApiInfoBuilder()
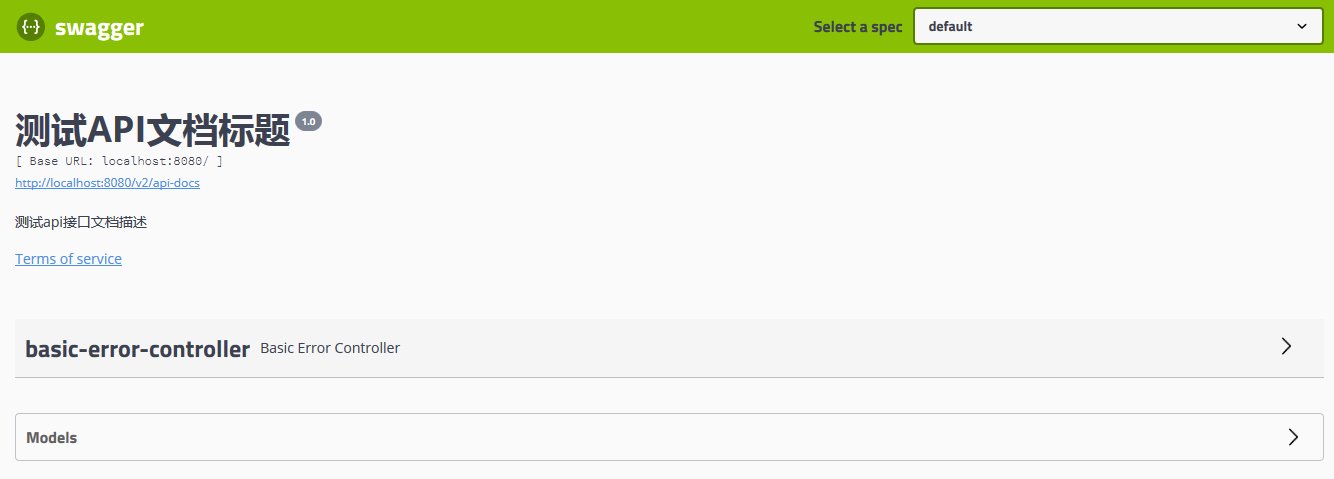
.title("测试API文档标题")
.description("测试api接口文档描述")
.termsOfServiceUrl("http://www.baidu.com")
.version("1.0")
.build();
}
}
|
再次启动测试运行,访问:http://localhost:8080/swagger-ui.html,看到如下页面:
5. 实体类
1
2
3
4
5
6
7
8
9
10
11
12
13
14
15
16
17
| package com.demo.entity;
import io.swagger.annotations.ApiModel;
import io.swagger.annotations.ApiModelProperty;
@Data
@NoArgsConstructor
@AllArgsConstructor
@ApiModel("用户")
public class User {
@ApiModelProperty("编号")
private String uid;
@ApiModelProperty("用户名")
private String username;
@ApiModelProperty("密码")
private String password;
}
|
6. Controller
1
2
3
4
5
6
7
8
9
10
11
12
13
14
15
16
17
18
19
20
21
22
23
24
25
26
27
28
29
30
31
32
33
34
35
36
37
38
39
40
41
42
43
44
45
46
47
48
49
50
51
52
53
54
55
56
57
58
59
60
61
62
| package com.demo.controller;
import com.demo.entity.User;
import io.swagger.annotations.Api;
import io.swagger.annotations.ApiOperation;
import io.swagger.annotations.ApiParam;
import org.springframework.web.bind.annotation.*;
import java.util.ArrayList;
import java.util.List;
@Api(tags = "用户接口")
@RestController
@RequestMapping("/user")
public class UserController {
@ApiOperation("查询单个用户")
@RequestMapping("/findById")
public User findById(@RequestParam @ApiParam("用户ID") String uid){
User user = new User();
user.setUid(uid);
user.setUsername("张三");
user.setPassword("123");
return user;
}
@ApiOperation("删除单个用户")
@PostMapping("/delete")
public User delete(String uid){
User user = new User();
user.setUid(uid);
user.setUsername("李四");
user.setPassword("456");
return user;
}
@ApiOperation("查询所有用户")
@GetMapping("/findAll")
public List<User> findAll(){
User user1 = new User();
user1.setUid("1001");
user1.setUsername("张三");
user1.setPassword("123");
User user2 = new User();
user2.setUid("1002");
user2.setUsername("李四");
user2.setPassword("456");
ArrayList<User> users = new ArrayList<>();
users.add(user1);
users.add(user2);
return users;
}
}
|
7. 修改 SwaggerConfig 配置类
1
2
3
4
5
6
7
8
9
10
11
12
13
14
15
16
17
18
19
20
21
22
23
24
25
26
27
28
29
30
31
32
33
34
35
36
37
| package com.demo.config;
import org.springframework.context.annotation.Bean;
import org.springframework.context.annotation.Configuration;
import springfox.documentation.builders.ApiInfoBuilder;
import springfox.documentation.builders.RequestHandlerSelectors;
import springfox.documentation.service.ApiInfo;
import springfox.documentation.spi.DocumentationType;
import springfox.documentation.spring.web.plugins.Docket;
import springfox.documentation.swagger2.annotations.EnableSwagger2;
@Configuration
@EnableSwagger2
public class SwaggerConfig {
@Bean
public Docket createDocket(){
return new Docket(DocumentationType.SWAGGER_2)
.apiInfo(createApiInfo())
.groupName("用户接口组")
.enable(true)
.select()
.apis(RequestHandlerSelectors.basePackage("com.demo.controller"))
.build();
}
public ApiInfo createApiInfo(){
return new ApiInfoBuilder()
.title("测试标题")
.description("测试描述")
.termsOfServiceUrl("http://www.baidu.com")
.build();
}
}
|
Swagger通过注解表明该接口会生成文档,包括接口名、请求方法、参数、返回信息。
1
2
3
4
5
6
7
8
9
10
11
| @Api:修饰整个类,描述Controller的作用
@ApiOperation:描述一个类的一个方法,或者说一个接口
@ApiModel:用对象来接收参数 ,修饰类
@ApiModelProperty:用对象接收参数时,描述对象的一个字段
@ApiResponse:HTTP响应其中1个描述
@ApiResponses:HTTP响应整体描述,一般描述错误的响应
@ApiIgnore:使用该注解忽略这个API
@ApiError:发生错误返回的信息
@ApiParam:单个参数描述 + @RequestParam
@ApiImplicitParam:一个请求参数,用在方法上
@ApiImplicitParams:多个请求参数
|